I always liked the look of a teak and holly sole, but never thought
the cost of fabricating the real McCoy was worth the money. Actual
teak and holly strips are expensive, and reasonably priced veneers
are very thin and don't wear well. Here is how I did it on Windependent
for next to nothing. It should wear like iron. Here's what you
need:
Materials et al:
• About half a day's time
• A small can of stain
• A 1" x 4" x 48" piece of knot free
(clear) whitewood from your favorite box store or lumberyard.
Sometimes it is called craft wood.
Or real holly if you can get it.
• A router with a 1/4" straight bit
• Pint of semi-gloss varnish
• Waterproof glue or epoxy
• One cat
• No bottle of Smoking Loon until after the
cat says it's ok
|
Here's the original sole on Windependent.
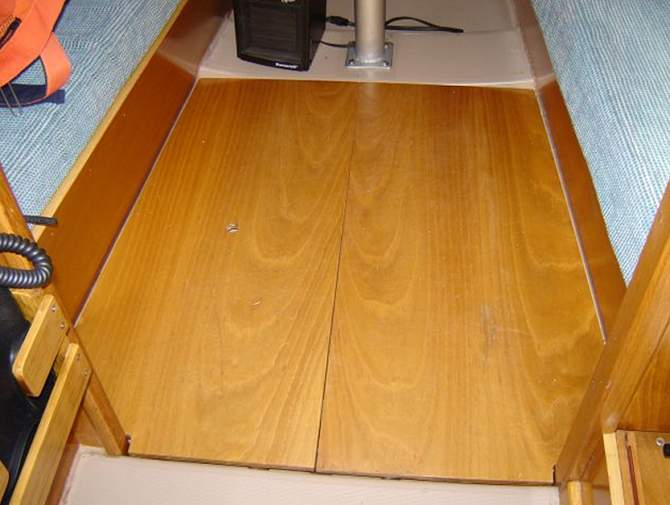
Overview
A couple of initial comments. First
the wood of the sole is very high quality. It is a marine plywood
laminate of hardwoods and very durable. Mine was in excellent
shape even given its age. A few dents and dings, but most importantly,
I did NOT try to fill them or dress the sole up cosmetically prior
to this project. I simply used the sole as is.
Applying stain over top of the existing
varnish would be futile. So the plan here was first take the finish
off the sole and take it down to pure bare wood so it can be re-stained
to look more like teak than douka wood. It is necessary to do
this to the top surfaces only. I left the underside alone.
I stripped off the old varnish with two
applications of furniture stripper. I used Klean-Strip Furniture
Stripper in a red can that says "removes polyurethane, paint,
varnish and lacquer". The active ingredient in it is methylene
chloride. Follow the label directions, specially the safety precautions.
I worked outside for adequate ventilation because otherwise, said
the can, I am a dead man.
Apply the stripper heavily using a disposable
paint brush with the sole laying flat. Let it work for 15 minutes.
It will blister the varnish. Scrape the old varnish off with a
plastic putty knife and dispose of the residue properly. Then
repeat a second time. If there are any significant areas that
still did not strip, you can do it a third time. If only small
bits of varnish remain, you can handle them in a moment.
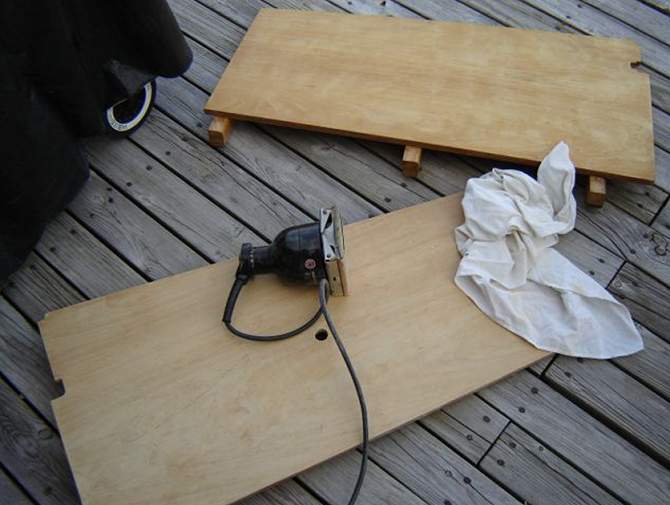
When you finish stripping, clean the
board well with a damp cloth and then let the boards dry a day
outside. When they are dry, sand down the surface to remove any
remaining bits of varnish. If you miss any varnish in this step,
the new stain will not stain and it will look bad when you are
done. So take the time to examine the wood carefully and get that
varnish 100% removed.
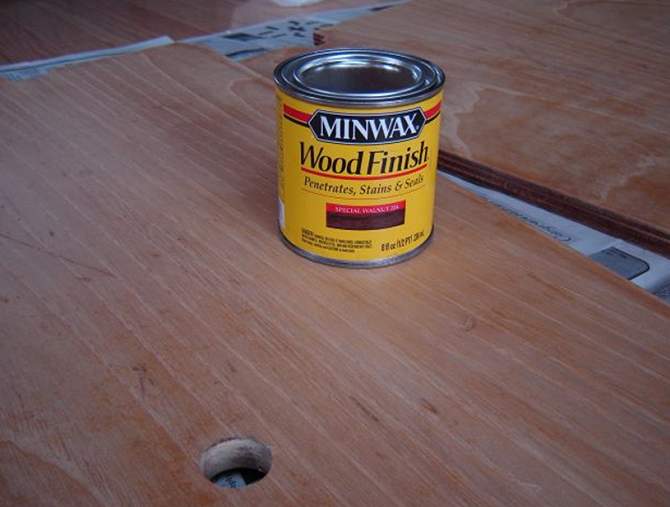
Now select the stain color you want. The
way I did it was to go to the Minwax website at http://www.minwax.com/products/woodstain/woodfinish-color.cfm
and in another browser page open up some pictures of a teak and
holy sole copped from a big, expensive yacht. Using a side by
side color comparison for the teak part, I picked out several
Minwax colors that approximated teak. In my opinion, in order
of authenticity, teak is closely matched by: English Chestnut,
followed by Special Walnut, then Early American and finally Provincial.
The local Walmart didn't have English Chestnut so I went with
Special Walnut. Your tastes may be different, so you should check
the colors yourself.
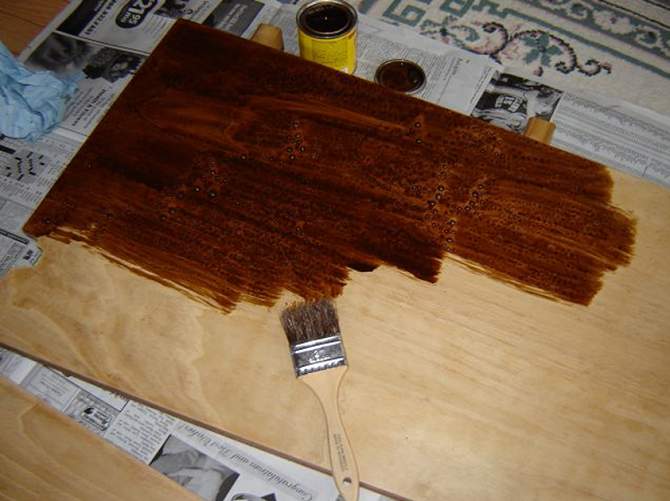
Ok, now stain your bare wood. It looks real dark, eh? Nevertheless,
I applied a first coat, rubbed it off, then applied a second coat.
I didn't miss any old varnish so it stained uniformly.
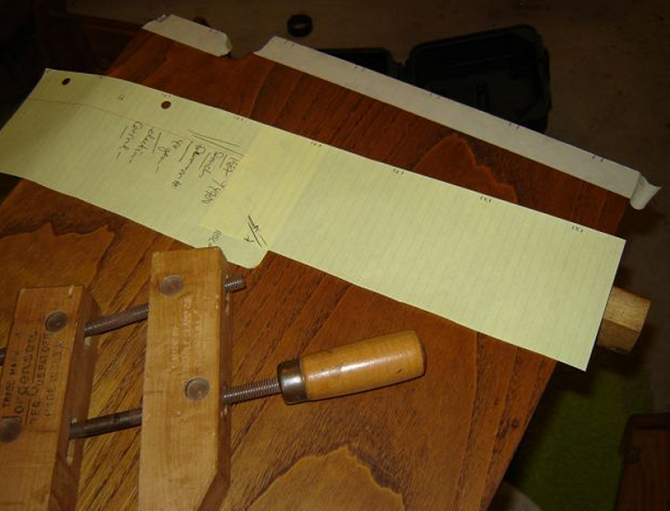
If there is a standard spacing on a standard
teak and holly sole the standard seems to be teak strips that
are 2 3/8"wide separated by 1/4"holly strips. This is
the spacing that I used. Run a piece of masking tape along the
forward and aft edges, so you can write on it conveniently. I
made a paper strip and marked this spacing pattern on it repeatedly.
I used this paper strip to transfer the marks to the masking tape.
You can see the marks on the masking tape. My fake teak and holly
will run parallel to the centerline. Notice that I started the
first teak strip 1 3/16" in from the centerline. This is
so when the sole boards are adjoined the center teak strip will
appear to be the correct width.
The most outboard 1/4"holly strip will
start on the aft edge, but terminate on the starboard (or port)
edge, so the terminal area will end up tapered. There is a picture
that will make this clear later.
Now fit your router with a 1/4" straight
bit. Your bit must leave a 1/4" routed groove with a flat
bottom. Lay a 4 foot board across your marks at a location that
will center the router bit cut on the 1/4" holly strip location
and clamp it down tightly Then route all your grooves about 7/32"deep.
Hold the router against the board and run along it as a guide.
Be careful. If your router wanders or you otherwise screw up here
you won't be able to hide your mistake. You will be setting your
fake holly into these routed grooves so they must be properly
spaced and accurately cut.
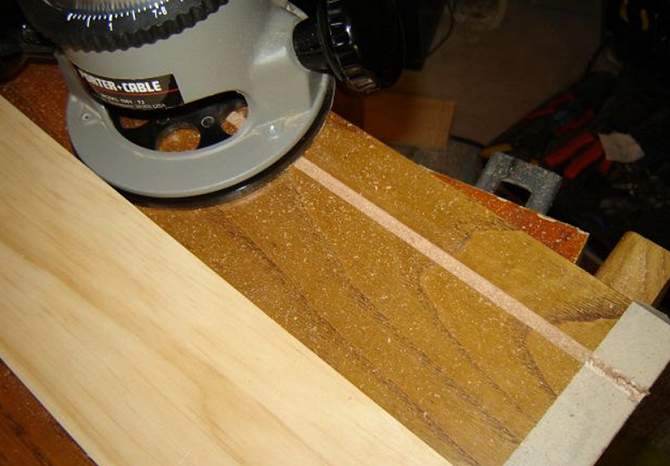
Just route right through the masking
tape. Incidentally, the 4 ft board is the board I later cut up
to make the holly strips.
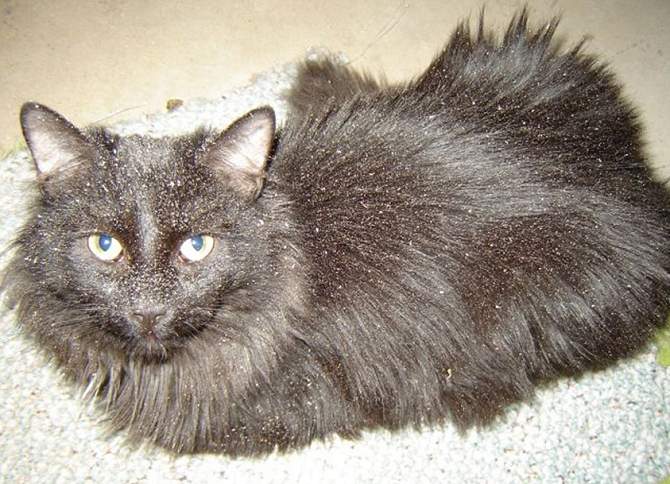
All this routing made a Really Big
Mess. Sawdust was everywhere. Ever faithful Carbon Cat stayed
in the shop the entire time and never moved, oblivious to the
sawdust storm. I'll vacuum him later.
When you are done routing the grooves,
carefully remove any sawdust and debris from the channels or the
holly won't seat properly...and Carbon Cat might be highly annoyed.
Now you make your holly strips. You
cut them to width first, then to depth, and finally to length.
Adjust your saw to 1/4"and cut a small piece first and test
fit the width. When you have the exactly correct width, the strip
will fit into the groove easily but not fall out if you turn things
upside down. When you think you have it right, cut a SECOND test
piece to make absolutely sure your width is perfect. Then cut
a sufficient number of 1/4"wide strips to width for all your
grooves.
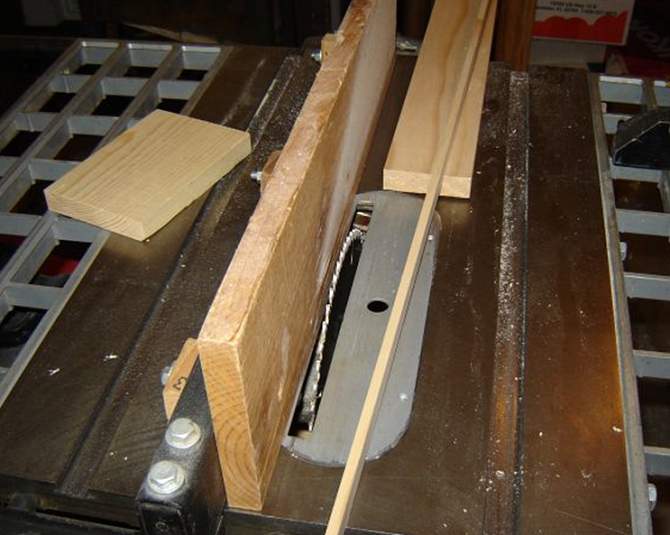
Now, cut them to depth. Use trial and
error on small pieces to be certain you find the exact right depth.
You want the strips to press firmly down into the channels and
bottom out with their top surface flush. There can be no final
sanding of the sole board (it would remove the teak color stain)
so get these width and depth measurements right. When satisfied,
cut all your strips to depth.
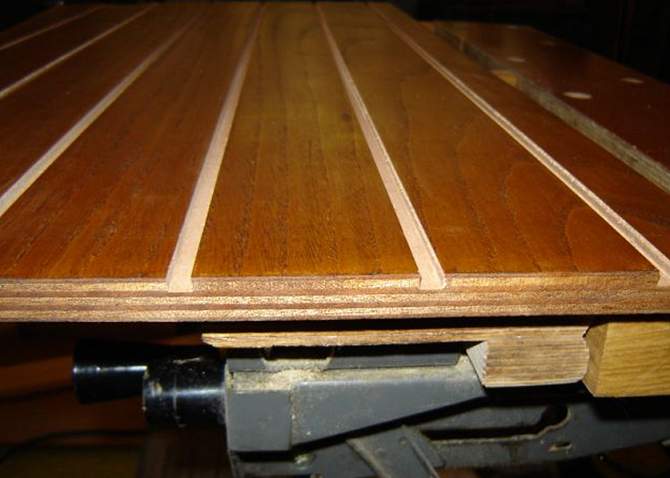
Here are the strips laid in place,
but not yet cut to length.
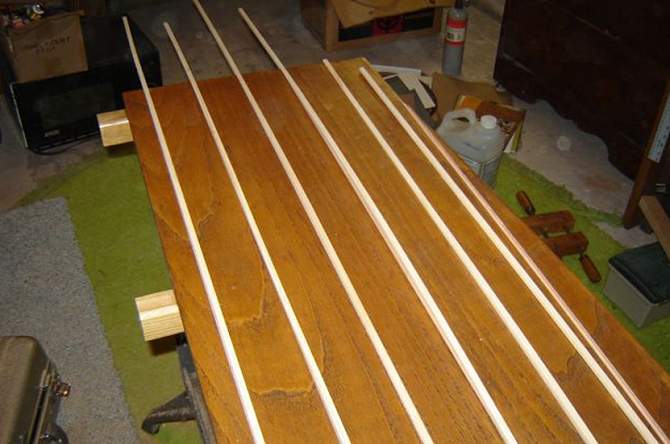
Holly is a very white wood, so these strips
cheap whitewood are going to be used without any stain finish
at all. Varnishing the sole at the end of the project with protect
them. Notice the right-most groove in the above picture. The holly
strip ends with a long taper on the right side edge. In the next
step, install a full length of holly in this groove so it fully
sticks out. You will taper it later.
Cut each strip to length so it has an overhang
of 1/8". You'll sand the 1/8"nubs off later.
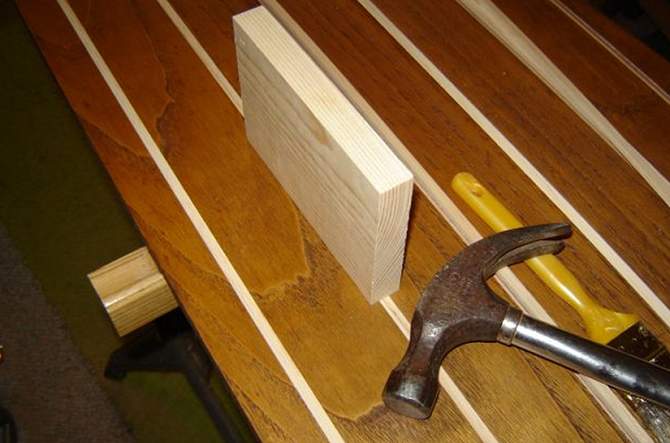
One strip at a time is now glued in place.
Run a 1/16"bead of water proof glue (or epoxy, if you prefer
it) in the length of the first channel. Spread the glue uniformly
across the full width of the channel bottom with a piece of scrap,
and then before the glue dries press the strip into place. Use
a scrap block of wood and a hammer to tamp the fake holly strip
down perfectly flush with the fake teak. Install the rest of the
strips the same way until you have faked out the entire sole.
When the glue has dried or cured, address
the holly strip that needs to be tapered. I used a small hand
plane to taper it to shape, and a little light sanding. The tapered
edge is finely faired into the edge of the plywood and becomes
very thin. Apply a little glue to this thin tapered edge and clamp
it in place until it dries. Then lightly sand the edge one final
time so it is smooth and won't snag on anything.

Trim off or sand all the 1/8" overhangs
of holly so the sole board is once again the same exact size as
before you started. Finish the sole with several coats of semi-gloss
varnish, or high gloss if you prefer. Seal it well, to prevent
moisture from penetrating your woodwork and discoloring your fake
holly. Real holly is preferred because even wet it does not darken.
All that remains is to take it to the boat
and set it in place. I'll take a picture of it after installation.
Notice the teak where the two boards meet appears to be the proper
width.

return to
Beneteau First 235 Mods Online

